If you’re looking to add a splash of summer to your nails, look no further than fruit nail art, specifically watermelon slice designs. Perfect for sunny seasons, this fun and vibrant style is both eye-catching and easier to create than you might think. Let’s dive into a world of color and creativity, where your nails become the canvas for summertime’s most iconic fruit.
Whether you’re a seasoned nail art enthusiast or looking to try something new, this watermelon slice tutorial will guide you through the process of achieving the perfect summer manicure. From the essential colors and tools to detailed design instructions, we’ve got everything you need to make your nails look absolutely delicious!
Why Watermelon Nail Designs Are a Summer Favorite?
Watermelon nail designs bring a sense of freshness and playfulness that is synonymous with summer. The bright colors and juicy patterns are not only aesthetically pleasing but also evoke feelings of happiness and relaxation, reminiscent of a summer picnic or a day at the beach.
Moreover, watermelon designs are versatile, allowing for various interpretations, from minimalist to bold and sparkly. This adaptability makes them a go-to choice for fashion-forward individuals looking to make a statement with their manicure.
Another reason these designs remain popular is their surprising ease of creation. With the right tools and a bit of practice, anyone can turn their nails into miniature watermelon slices, ready to flaunt at any summer occasion.
Essential Colors and Tools for Watermelon Nail Art
To create authentic watermelon nail art, you’ll need specific colors, such as green for the rind, pink or red for the flesh, and black for the seeds. Acrylic paints or gel polishes can be used depending on your preference and skill level.
Alongside the colors, having tools like dotting brushes, thin art brushes, and sponges will help in achieving those precise lines and blended effects that make your watermelon slices look realistic.
A quality top coat is also a must-have for sealing your design, ensuring it remains glossy and durable throughout the summer days.
Classic Watermelon Slice Nail Design: How to Achieve It?
For a classic watermelon slice look, start by applying a green polish along the tip of your nails, mimicking the rind. Once dry, add a layer of pink or red, leaving a thin strip of green visible.
Next, use a dotting tool dipped in black to create the seed-like spots, strategically placing them over the pink/red area. Allow your design to dry completely before applying a top coat for a shiny finish that protects your artwork.
Remember, precision is key, so take your time with each step to ensure a clean and appealing result.
 Zendaya’s 8 Most Stylish Hairstyles Explained
Minimalist Watermelon Nail Art: Is Less More?
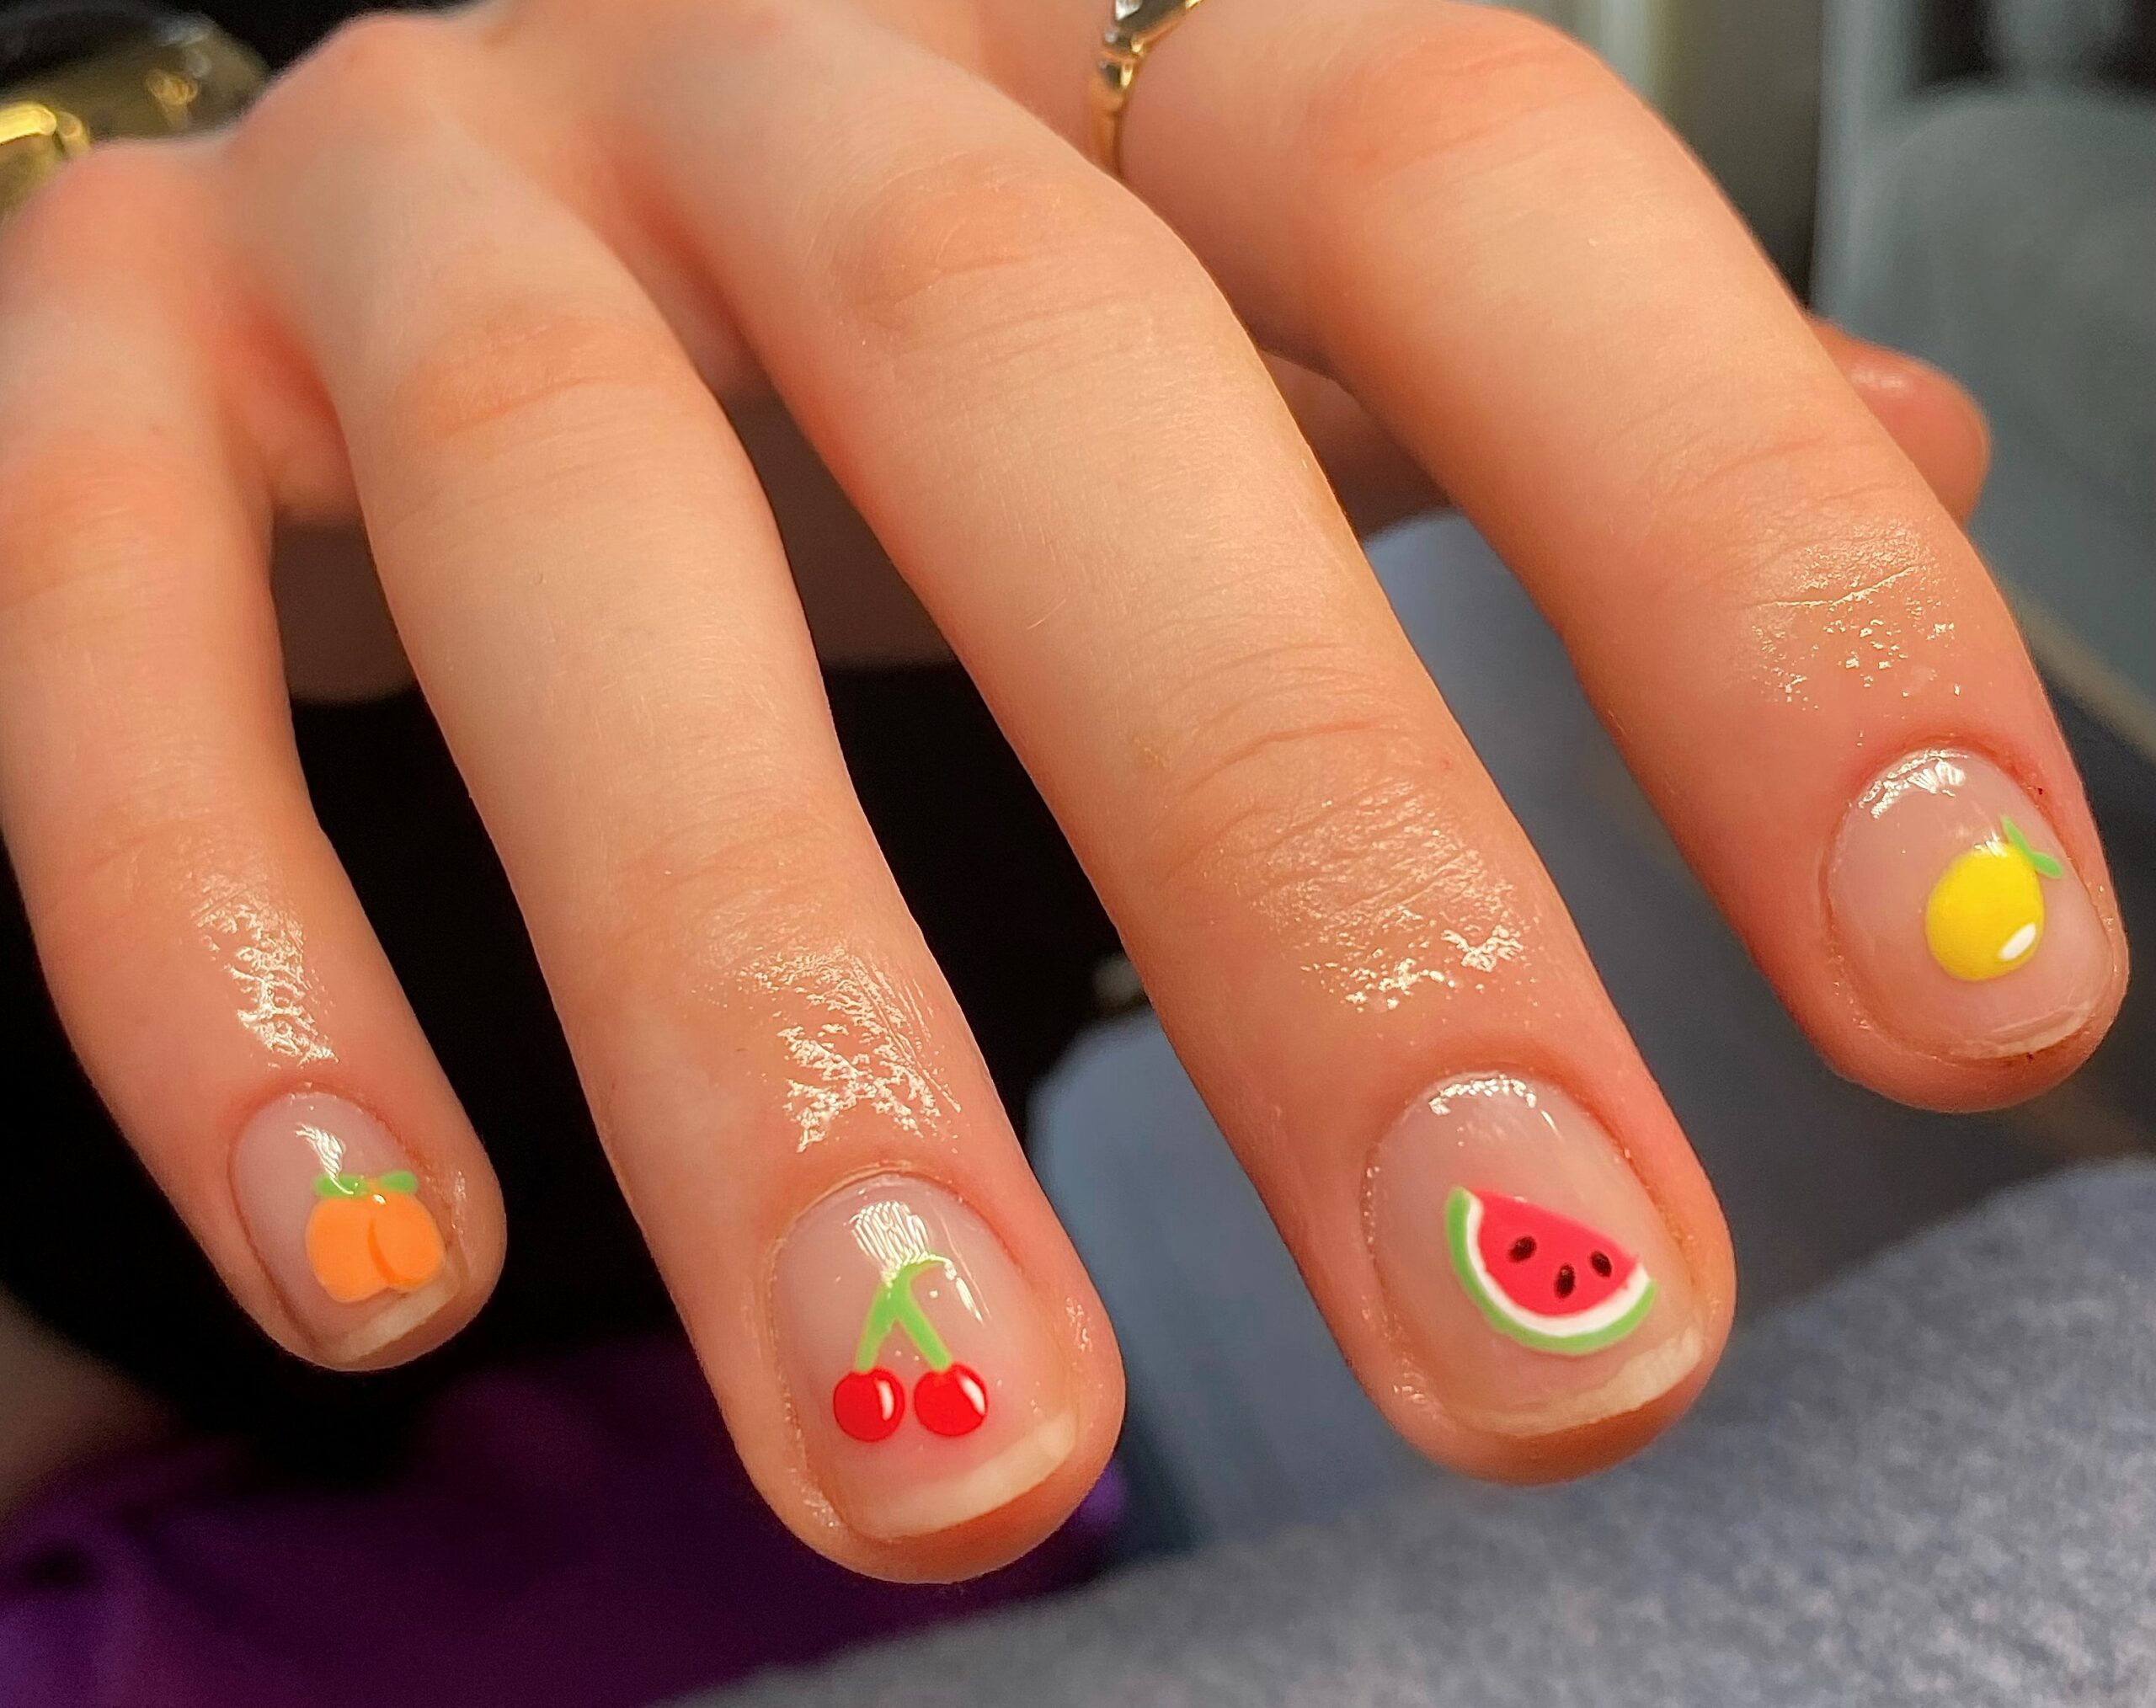
For those who prefer a subtler look, minimalist watermelon nail art can be just as impactful. Consider creating a small watermelon slice accent on one nail, while keeping the others in solid green or pink.
The minimalist approach focuses on simplicity and clean lines. A single, well-executed watermelon slice can be a chic and understated nod to the summer season without overwhelming your overall aesthetic.
Glittery and Sparkly Watermelon Nails: How to Make Them Shine?
For an added touch of glamour, incorporate glitter into your watermelon nail design. Use a glittery green polish for the rind or add a layer of sparkle over your pink/red base before drawing the seeds.
Glitter can also be used to create a sugary effect on the fruit’s flesh, emulating the look of sunlight reflecting off the juicy surface. This sparkling detail can elevate your summer manicure, making it perfect for evening events or special occasions.
Related Questions on Watermelon Nail Art
What Are the Best Summer Nail Ideas?
The best summer nail ideas often include bright colors and playful patterns. Think tropical motifs, ocean waves, and, of course, fruit nail art. Watermelon designs are particularly popular due to their vibrant hues and association with summer refreshment.
How to Do Perfect Nail Art?
Perfect nail art is achieved through practice, precision, and patience. Starting with a clean, well-prepared nail surface is essential. Using the right tools for the design you’re aiming to create is also critical, as is allowing each layer of polish or paint to dry thoroughly before proceeding to the next.
How to Do Cherry Nail Art?
To create cherry nail art, apply a nude or light pink base coat. Once dry, use a dotting tool to create pairs of red dots for the cherries, and use a thin brush to add small green stems. Finish with a top coat for shine and protection.
How to Do Candy Cane Nail Art?
Candy cane nail art is perfect for the holiday season. Paint your nails with a white base coat, then use tape to create diagonal stripes. Apply red polish over the tape, remove it while the polish is still wet, and seal your festive design with a top coat.
Check out this video for a visual guide on how to create a stunning watermelon nail art design:
Incorporating these summer nail designs into your look is not only a way to express your personal style but also to celebrate the joy and vibrancy of the season. So grab your polishes and tools, and get ready to rock those watermelon slice nails with pride!
 15 snowflake nail art designs for winter | makeup tutorials