Creating your own homemade foundation can be an exciting adventure, allowing for customization and control over the ingredients that touch your skin. In this guide, we’ll delve into the world of DIY foundation with high coverage, perfect for those seeking a personalized makeup experience.
Homemade makeup tutorials foundation guide can empower you with the knowledge to craft a beauty product that’s tailor-made for your skin tone and type. Let’s explore the benefits and methods of producing your own high-coverage foundation, ensuring a flawless look.
What are the benefits of DIY foundation?
Creating your own foundation presents a myriad of advantages. Firstly, it’s a great way to ensure natural beauty by using ingredients that are kind to your skin and the environment. Additionally, homemade foundation recipes can be customized to perfectly match your skin tone, and they allow you to avoid harmful chemicals often found in commercial makeup. Moreover, DIY foundation is cost-effective, as you can use simple, affordable ingredients that may already be in your pantry.
Another significant benefit is the health aspect. By choosing natural and organic components, you minimize the risk of skin irritation and breakouts, making it ideal for all skin types. You’ll also be contributing to sustainability, reducing waste, and supporting a more conscious consumption pattern in your beauty routine.
Last but not least, the process of making your own foundation is incredibly rewarding and fun, giving you a sense of accomplishment and creativity. It’s a beauty adventure that’s both practical and enjoyable!
How to create high-coverage DIY foundation?
DIY foundation with high coverage requires a balance between pigment and texture. Begin by choosing the right natural pigments, like cacao powder for warmth and zinc oxide for its sun-protective properties. The key is to blend these dry ingredients until you reach the desired shade.
Once you have your pigments ready, it’s time to add a base. A good moisturizer or carrier oil will bind the dry ingredients and provide the creaminess needed for smooth application. Mix thoroughly to avoid any clumps, ensuring the consistency is even and adjustable to your coverage needs.
If you find your foundation too thick, consider adding a few drops of jojoba or argan oil for a silkier texture. Remember, the goal is to achieve a blend that provides high coverage without looking cakey or feeling heavy on the skin.
Here’s a simple step-by-step to guide you through the process:
- Mix your chosen dry ingredients to match your skin tone.
- Add your moisturizer or oil slowly, mixing as you go.
- Test the coverage on your jawline and adjust as necessary.
- Store in a clean, airtight container.
Which ingredients are best for homemade foundation?
Selecting the right natural ingredients is crucial for a successful DIY foundation. Zinc oxide is not only a natural sunscreen but also offers great coverage. Cacao powder provides color and is rich in antioxidants, while bentonite clay helps to absorb excess oil, making it excellent for oily skin types.
Additionally, consider incorporating arrowroot powder for a silky texture and to help control shine. Natural micas can be used for a bit of shimmer and to refine the color. Always choose non-toxic, cosmetic-grade powders to ensure safety and skin-friendliness.
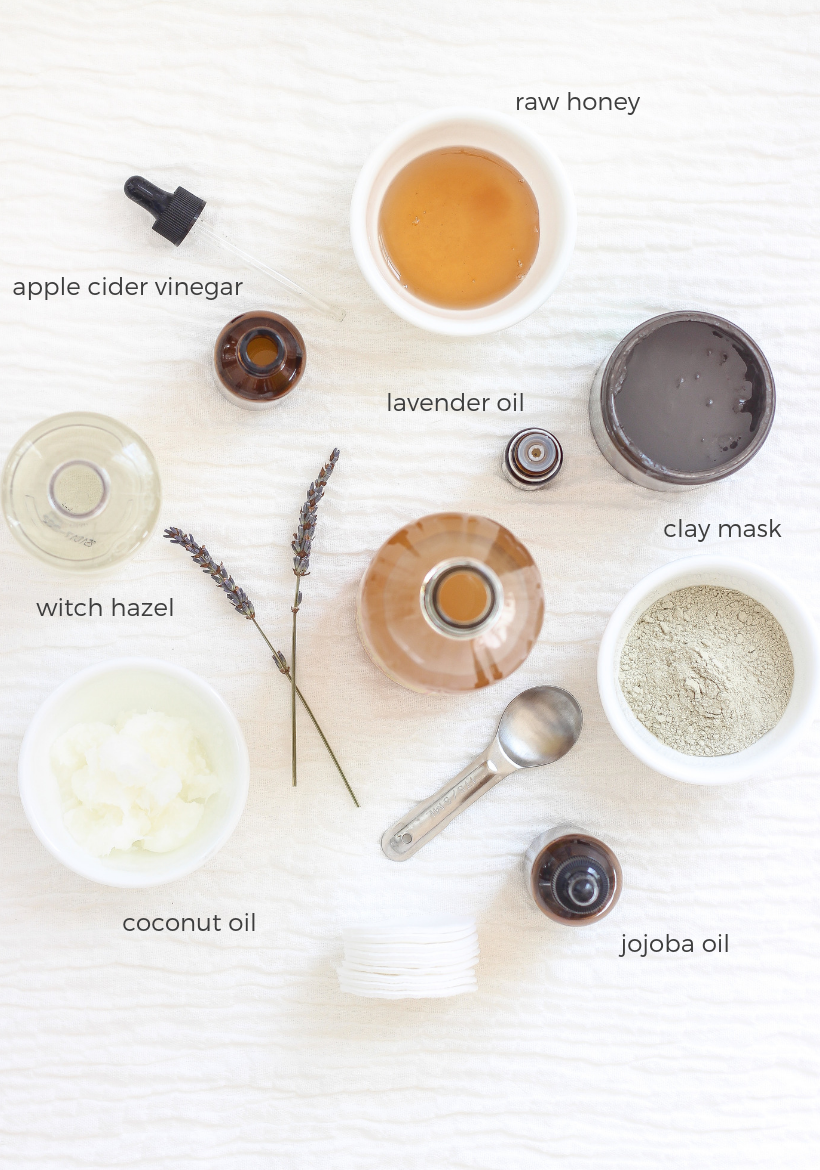
For the liquid component, oils like jojoba, coconut, or argan oil are great for their hydrating properties and compatibility with different skin types. You might also want to add a few drops of vitamin E oil as a natural preservative and skin-nourishing ingredient.
How to customize your DIY foundation shade?
Customizing your foundation shade is essential to achieve that perfect skin match. Start with a base powder that’s close to your skin tone and then adjust the color using additional pigments. If your skin has cool undertones, you might add more zinc oxide, while warmer undertones can be complemented with extra cacao powder or natural clays.
Test the color on your jawline in natural light to get the most accurate match. Remember, it’s easier to darken a foundation than lighten it, so start with a lighter base and build up gradually. Mix small batches to avoid waste and allow for fine-tuning.
Keep notes of your measurements to replicate or adjust the shade in future batches. This way, you can create a personalized collection of shades for different seasons or occasions.
How to apply DIY foundation for a flawless finish?
For a flawless full-coverage foundation, the application is just as important as the formulation. Begin with a clean, moisturized face. If you’ve made a powder foundation, use a dense foundation brush for better coverage. For liquid formulations, a makeup sponge can provide a smooth, airbrushed finish.
Apply in thin layers, building up to the desired level of coverage. Focus on areas that need more concealing, blending outward for a natural look. Set with a light dusting of arrowroot powder or your homemade setting powder to keep everything in place.
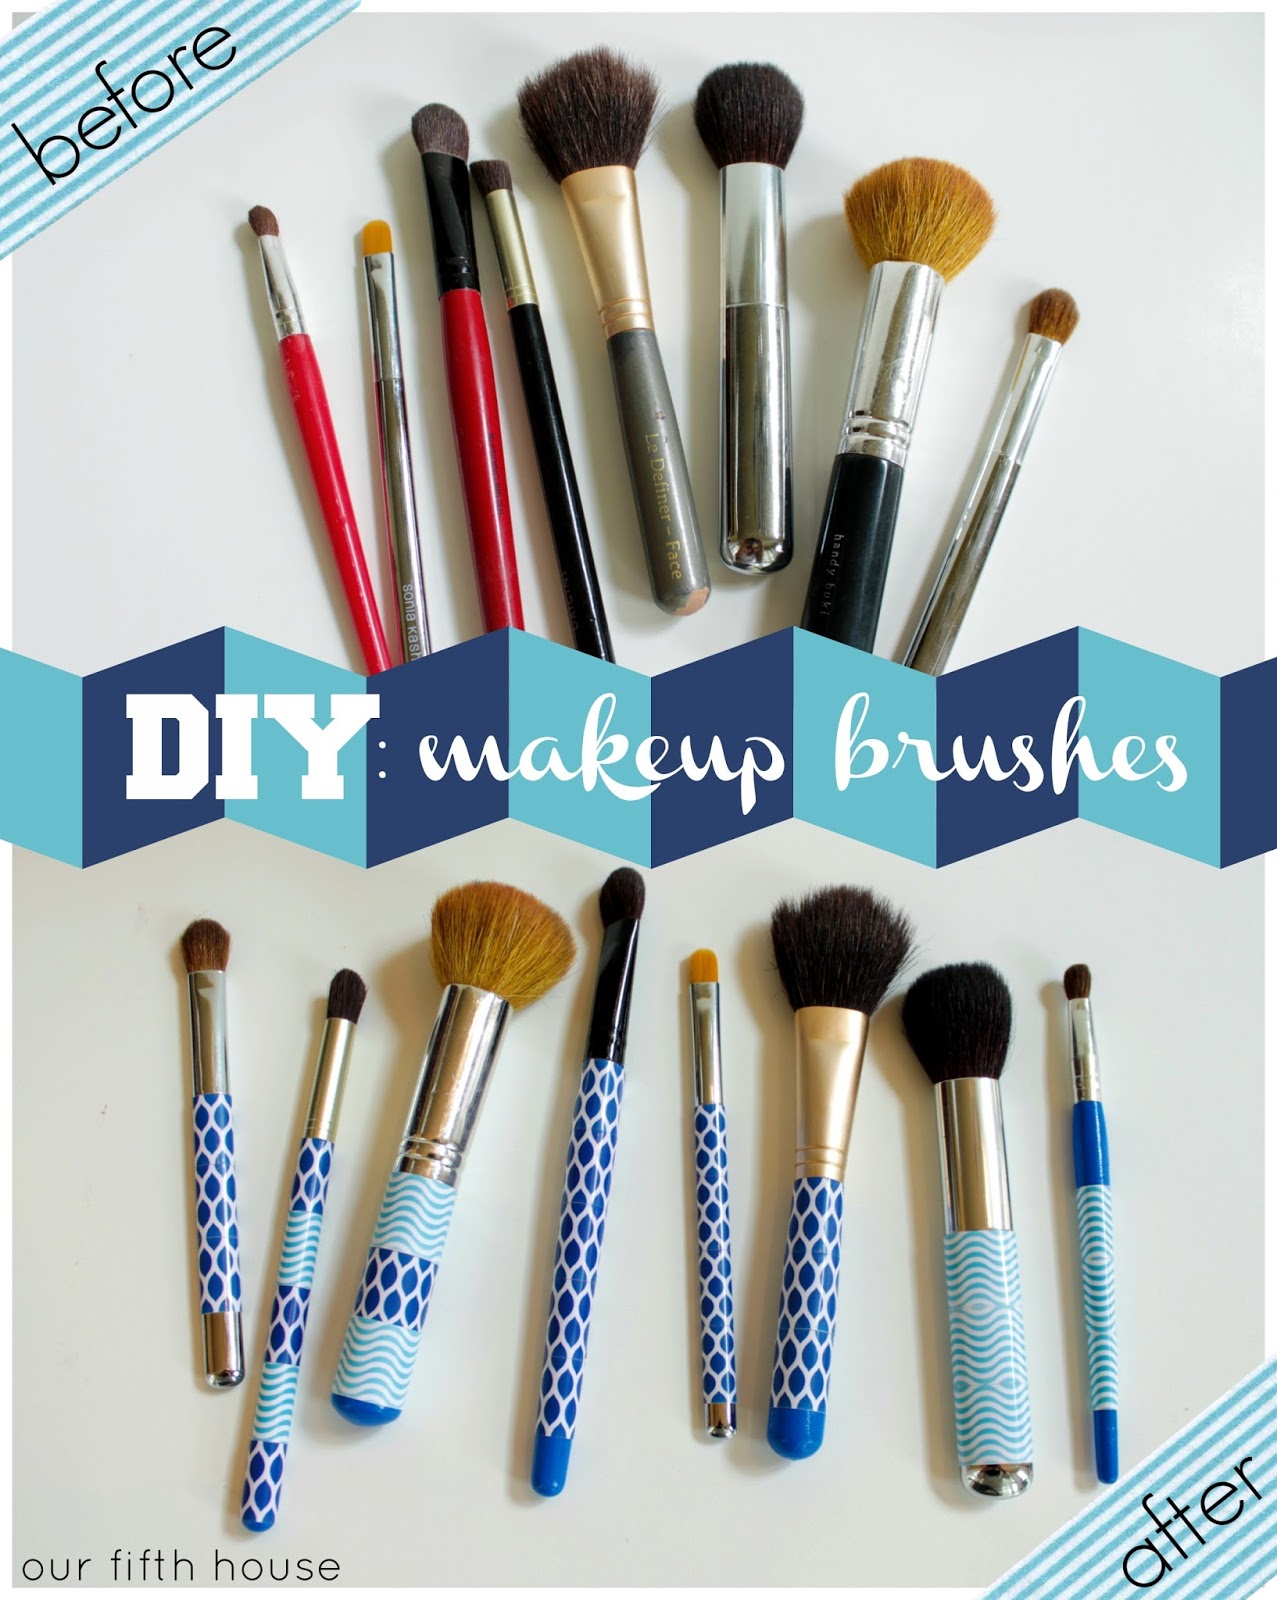
Always wash your brushes or spones after each use to prevent bacterial growth and skin irritation. Proper application tools and hygiene are critical to making the most of your homemade makeup.
What is the cost-effectiveness of DIY foundation?
The initial investment in quality ingredients for making DIY foundation can save you a significant amount of money in the long run. Commercial high-coverage foundations can be pricey, but with homemade versions, you get multiple batches from the same set of ingredients. Plus, you’re not paying for branding, marketing, or packaging.
On top of the savings, the efficiency of creating a product that serves multiple purposes cannot be overstated. Your DIY foundation can potentially replace concealer, setting powder, and even sunscreen, depending on the ingredients used.
Remember, while cost-effectiveness is a major draw, the peace of mind that comes with knowing exactly what’s on your skin is priceless. Homemade foundations provide affordable beauty without compromise.
Related Questions on DIY Foundations
How to make foundation full-coverage at home?
To make a full-coverage foundation at home, focus on incorporating high-opacity powders like zinc oxide. Mix these with your tinted powders until you achieve a concentration that provides the coverage you desire. Test and tweak the formula to ensure it meets your expectations for a full-coverage effect.
Consistency is key—ensure that your homemade foundation is neither too thick nor too runny. If necessary, add more moisturizer to thin it out or more powder to make it denser. Full coverage doesn’t have to mean heavy; aim for a formula that offers ample concealment while still feeling light on the skin.
What ingredient makes foundation full-coverage?
Zinc oxide is the star ingredient for creating full-coverage foundations. Its natural opacity ensures that imperfections are well-concealed. Another option is titanium dioxide, which also has excellent covering abilities. Combine these with colored pigments to achieve a foundation that not only matches your skin tone but also offers superior coverage.
Remember, balance is essential. Too much of these opaque ingredients can result in a chalky appearance, so adjust your measurements carefully and always conduct a patch test.
How to get flawless full-coverage foundation?
For a flawless full-coverage foundation, start with a well-prepared skin base. Hydration is crucial, so apply a good moisturizer before your DIY foundation. When formulating, include ingredients that have a smoothing effect, such as sericite mica or silk powder, to help diffuse light and blur imperfections.
Application technique also matters – use a dampened sponge or a stippling brush to press the foundation into the skin for a seamless finish. Set with a homemade setting powder to extend the wear time and maintain the flawless look throughout the day.
How to make a low coverage foundation high coverage?
To transform a low coverage foundation into a high-coverage one, gradually add more of your base pigment or an additional opaque powder, such as zinc oxide. The trick is to thicken the foundation without altering its color too much. Always test the foundation after each adjustment to ensure it still matches your skin tone and provides the coverage level you’re after.
Achieving the perfect consistency might require some experimentation, so be patient and adjust your formula in small increments. This approach will prevent over-saturation and maintain the foundation’s natural-looking finish.
In the spirit of full disclosure and inspiration, take a moment to watch this insightful video on creating your own natural foundation. It demonstrates the ease and creativity behind personalizing your makeup:
In conclusion, DIY foundation with high coverage is not only a fun and rewarding DIY project but also a healthier, cost-effective option for your beauty routine. By understanding the properties of each ingredient and mastering the art of mixing, you can create a foundation that’s perfectly suited to your skin’s needs and preferences. Whether you’re new to homemade makeup or an experienced DIY beauty enthusiast, the possibilities for customization are endless. Embrace the natural ingredients, enjoy the process, and wear your creation with confidence!
 5 Natural DIY Facial Moisturizer Recipes From Household Products